
Z - AXIS Coordinate Optical Measuring Machine CCD camera 3D Optical Measuring
Z - AXIS Coordinate Optical Measuring Machine CCD camera 3D Optical
Measuring
Applicability:
CCD camera 3D Optical Measuring Z - AXIS Coordinate Optical
Measuring Machine Mainly for metallograhpic measurement & analysis!These "Universal" models combine a measuring stand with the best of
metallurgical microscope components for high resolution imaging and
critical measurements. Featuring the full range of advanced
infinity objectives and microscopy techniques including:
brightfield,darkfield, DIC contrast, polarizing and
epi-fluorescence.
Up to five objectives may bemounted on the nosepiece.
With more usages if upgraded.
Structure and composition:
Image measuring instrument is a high resolution CCD color camera,
zoom lens, color display, video cross line generator, precision
optics, a multifunctional data processor, 2D data measurement
software and high-precision table structures consisting of high
precision optical image measuring instrument.
Main Features:
1. Closed frame structure which is simple and compact.
2. Crossbeam’s adoption of precise designing technology of inclined
girder (patent) guarantees the machine’s lightweight,low center of
gravity,strong rigidity and small error in motion to ensure the
machine's stability.
3. Z-axis using cylinder balancing device ,greatly improved the
Z-axis positioning accuracy and stability.
4. Drive system uses the internationally famous brands of
high-performance DC servo motors,toothed belt drive device to
ensure the transmission faster and more accurate,better sports
performance.
5. SB-Specific coordinate control system to guarantee the movement
stability,21 geometric error correction technology.
6. The software used with independent intellectual property rights,
the powerful AC-DMIS measurement software package, its perfect
measurement functions and online features provides users with the
perfect measurement solution.
Main Functions:
1. It can measure point, line, circle, arc and oval, rectangular
with the multipoint positioning function, combination of
measurements, center structure and the intersection of structure,
the midpoint of construction, line structure, a round structure.
2. It has various functions of data processing, display, input and
output, Measurement data output Word,Excel and Auto CAD directly to
conduct statistical analysis, particularly, and the work piece
straightening function is very useful.
3. Digital measurement and data processing system are made up by
the two coordinate's studio, the optical grating and the SDK -3000
data card.
4. It has RS232 interface with a computer and specialized
measurement software which can also processes and output circular
mapping.
Main Parameters:
Model: | HD-6050 | ||
| Marble table size(mm) | 930X850 | |
Glass table size (mm) | 760X650 | ||
Travel: X,Y (mm) | 600X500 | ||
Travel: Z | 230mm | ||
Z Effective space: | 200mm | ||
Weight: | 860kg | ||
Dimension (mm): | 1130X1050X1700 | ||
Work distance :95mm | X,Y,Z Data Resolution :0.5um | ||
Image system | 1. Camera: Color 1/3``CCD camera | ||
Power supply | 180V(AC)-260V(AC) 50Hz | ||
Power | 50W(without computer) | ||
The basic measurement principles:
(1) Abbe principle: in principle for the measured length and the reference length
during the measurement should be placed on the same straight line.
If the measured length and the reference length placed side by side
comparison of the measurement process because of a manufacturing
error occurs between the angle, offset, direction of movement, and
have a greater length of two errors. Size of the error in addition
to the angle between the size and the length of two related, but
also its distance between the size, the greater the distance, the
greater the error.
(2) the reference harmonized principles: unity and processing of measuring reference to the use of
benchmarks and reference. That step measurement process should
reference measuring standard, the final amount should be designed
to detect the reference measuring standard.
maintenance:
1, the instrument should be placed in a clean, dry room, avoid the
optical surface of the part sweat loss, metal parts to rust, dust
and debris falling into the movable rail, affecting the performance
of the instrument.
2, the instrument after use, should be ready to wipe clean working
surface, and then cast the best guard.
3, transmission equipment and rail movement, should be regularly
lubricating oil.
4, glass and painted surfaces dirty, you can wipe clean with a mild
detergent and water. Never use organic agents to clean the paint
surface, otherwise it would tarnish the paint surface.
5, precision instrument parts, such as the impact of the system,
table, optical device and Z-axis drive mechanism etc. required fine
adjustment, all adjustment screws and sturdy screws are fixed and
can not disassemble.
3D Coordinate Optical Machine for Vision Measurement System view:

Hai Da Labtester
Haida International Equipment Co., Ltd Company Profile
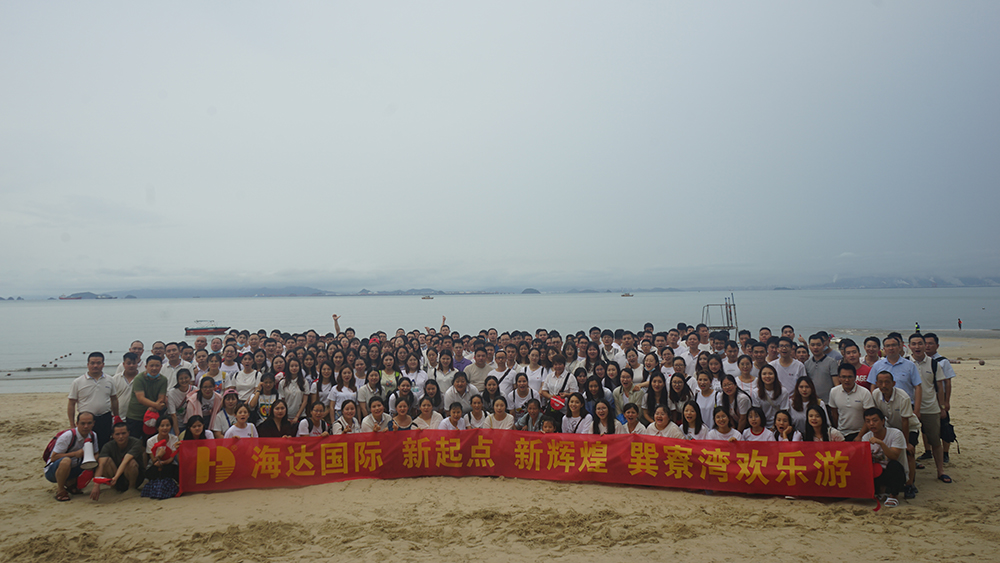
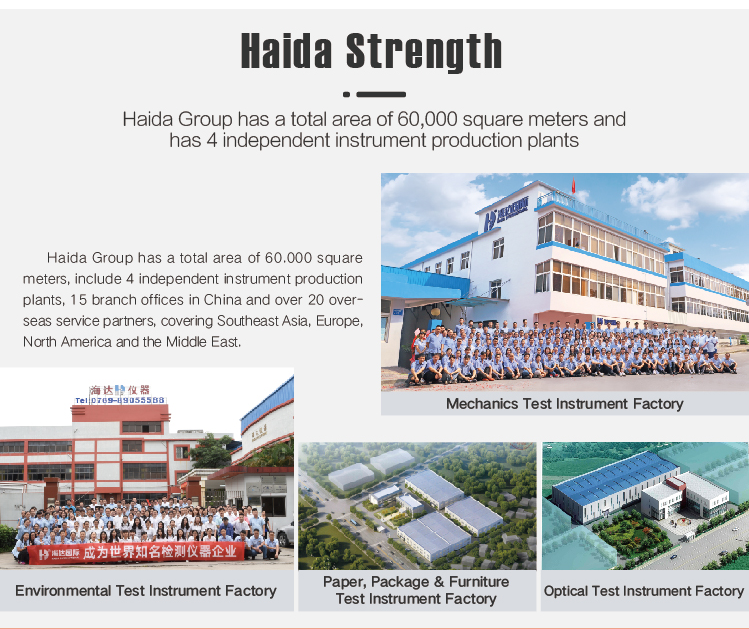
Haida established in 2004 in Dongguan City, where is the “silicon valley” of world manufacturing industry. It is a certified national high-tech enterprise engaged in design, research and development, production, sales, calibration and after-sale service of test equipment, such as paper&packaging test equipment, Furniture test equipment, material mechanics test equipment, optical measurement equipment, environmental reliability testing equipment etc. With the persistent efforts of all staff, Haida owned 4 factories with total 60,000 square meters, 15 branch offices covers South China, North China, East China, Central China and Northwest China, as well over 20 overseas after-sales service sites covers Southeast Asia, Europe, North America and the Middle East with over 28,000 customers.
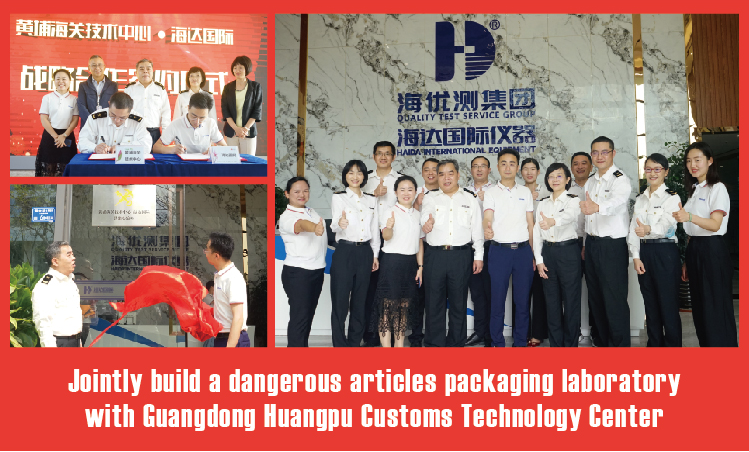
Haida main business scope includes equipment production, non-standard equipment customization, software development, measurement and maintenance consulting services. The company has passed ISO9000 certification and multiple certifications by internationally renowned testing organizations such as BV, SGS, TUV, and its products comply with GB, ISO, ASTM, EN, JIS, TAPPI, ISTA, DIN, BS and other domestic and foreign standards. Meanwhile, invested a large amount of research and development funds to adhere to the product concept of R & D , sales and products reserve to walk at the forefront of the industry. Moreover Haida participated in composing of furniture test standards and commonly drew up CY/T229-2020 industry standards with the National quality inspection, jointly developed industry test equipment with the National Paper Products Center and Dongguan Quality Testing Furniture Laboratory, co-built the reliability laboratory with many well-known enterprises, and Jointly built the dangerous articles packaging laboratory with Guangdong Huangpu Customs Technology Center.
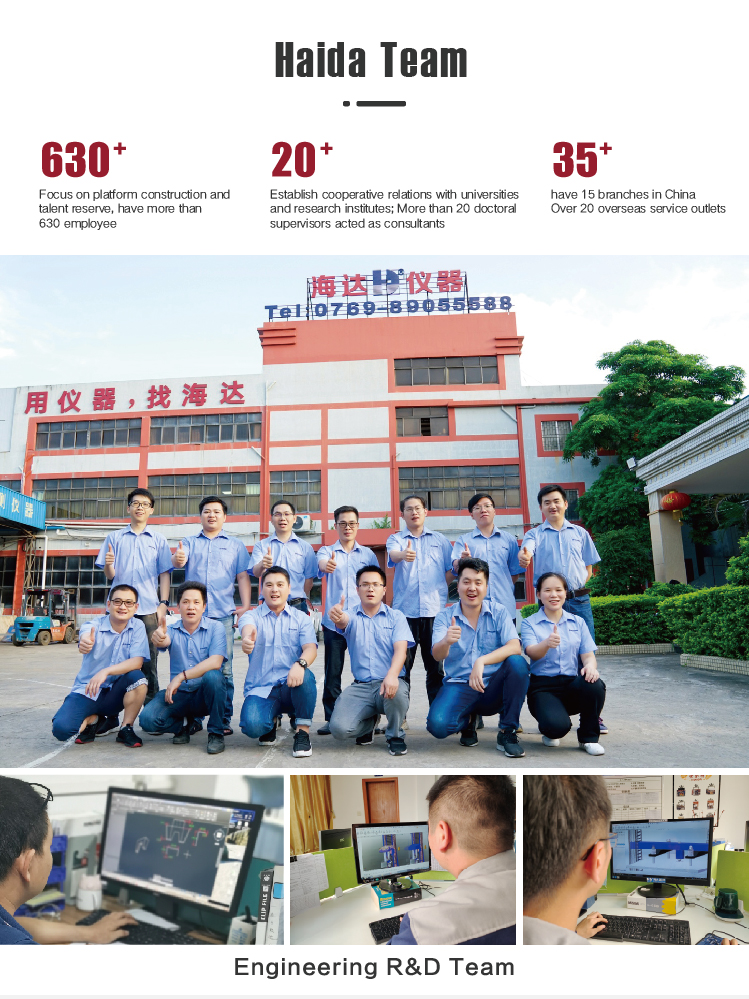
Haida adheres to the vision of "To be the World Class Testing Equipment enterprise" and attaches importance to platform construction and talent reserves. Having 630 employee which contain 150 technicians and more than 300 bachelors, 5 Masters, and 3 PhDs. Haida have won 2 national invention patents and over 100 utility model patents, At the same time, established 5 industry-university-research cooperation bases with universities and research institutes and invited more than 20 doctoral supervisors as consultants.
Looking forward to the future, Haida will fulfill the mission of "Deliver the best testing equipment to our customers" and adhere to the core values of "Creative, Efficiency, Inheritance, Passion and Persistence". Taking a green, low-carbon, and environmentally friendly sustainable development path, Haida will continuously optimize the product structure to realize the transformation and upgrade of the enterprise itself. It is the eternal pursuit of Haida people to build Haida into a comprehensive provider of testing equipment with advanced technology, excellent quality, high-quality service, and win-win cooperation!
Haida Headquarter
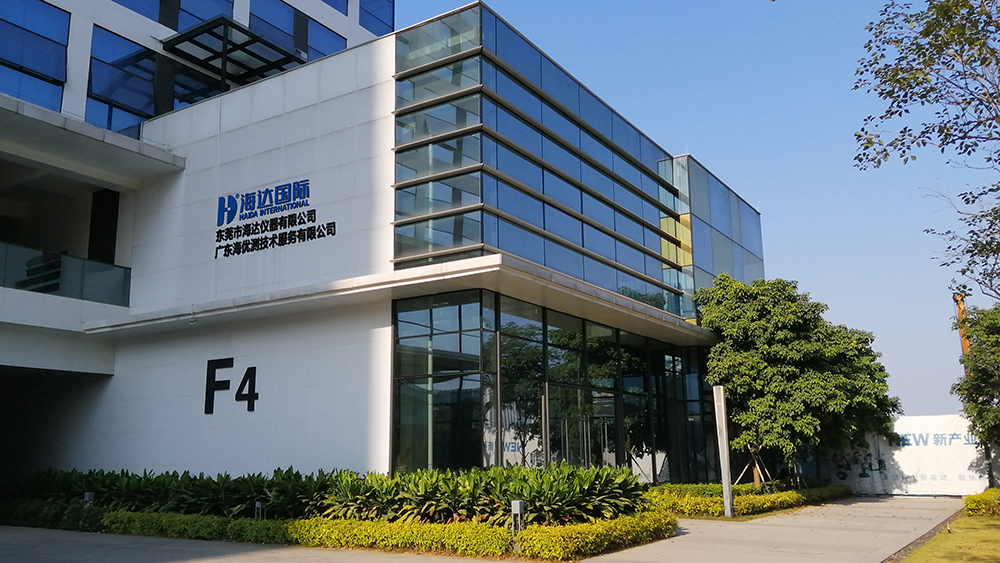
Haida Facyory
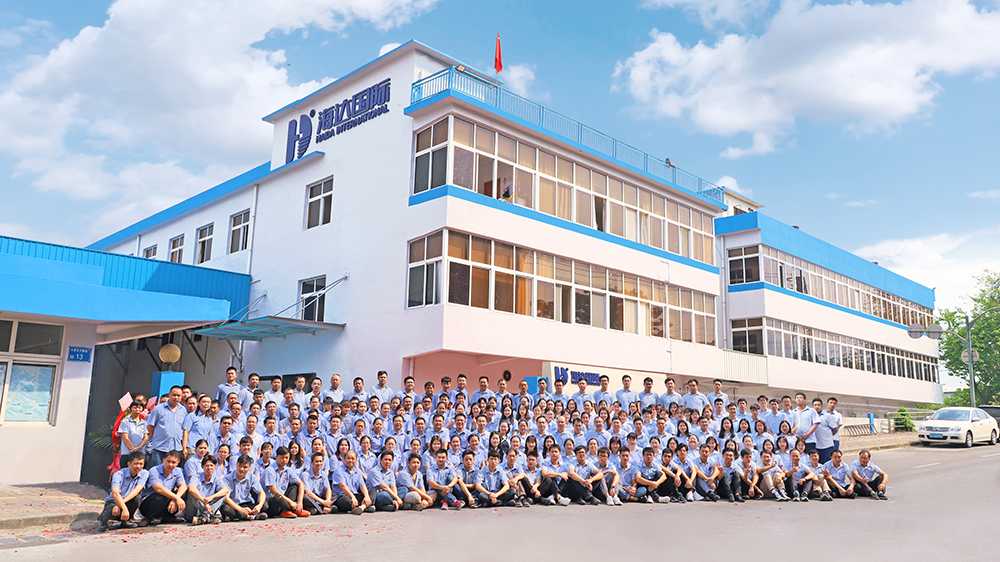
Haida Team
